


TOOLS


Gather the materials, including
- 4 1- x 4-inch 8 foot boards.
- 3 2- x 4-inch 8 foot boards.
- 1 2- x 2-inch 6 foot board.
Using a miter saw, cut the boards using this cut list.
- For the back legs, cut two of the 2- x 4-inch boards to 20 3/4-in. long with both ends cut parallel at 15 degrees off square.
- For the front legs, cut two of the 2- x 4-inch boards to 20-in. long.
- For the arm rest support, cut two of the 2- x 2-inch boards to 26 1/2-in. long, with one end cut at 15 degrees off square.
- For the front apron and back support, cut two of the 2- x 4-inch boards to 22 1/2 inches.
- For the seat slats, cut five of the 1- x 4-inch boards to 22 1/2 inches.
- For the back slats, cut five of the 1- x 4-inch boards to 36 inches.
- For the back top supports, cut one of the 1- x 4-inch boards to 19 1/2 inches.
- For the back base supports, cut one of the 2- x 4-inch boards to 19 1/2 inches.
- For the arm rests, cut two of the 1- x 4-inch boards to 27 inches.
- For the stretcher boards (or the diagonal leg supports), cut two of the 2- x 4-inch boards to 31 7/8-in, long, with one end cut at 35 degrees off square to the longest point and the other end cut at 20 degrees off square to the shortest point. Then cut off the top portion: take the 20-degree off-square side mark at a 90-degree angle with a measuring square two inches across, and cut with a circular saw or jigsaw. (See diagram.)

Attach one back leg and one front leg to an arm support with 2 1/2-in. exterior screws or deck screws. Keep the top and outside edges flush.

- Mark the front leg on the inside with the arm support on the outside. Leave 1 ½-in. space in front of the stretcher.
- Attach the stretcher to the front and back legs with 2 ½-in. exterior screws and wood glue. The bottom corner of the stretcher will match the bottom corner of the back leg. (See diagram.)
Tip: Place a piece of 2- x 4-in. board underneath the legs for support while attaching the stretcher.


- Build the seat back by attaching all the back boards to the seat back base support, leaving approximately a 1/2-in. gap in between. (See diagram.)
- Then attach it at the top with 1 1/4-in. screws.
- Using a jigsaw, cut the familiar Adirondack chair arch shape on the top of the chair back. Use a large round object, such as the base of a bucket, as a guide.


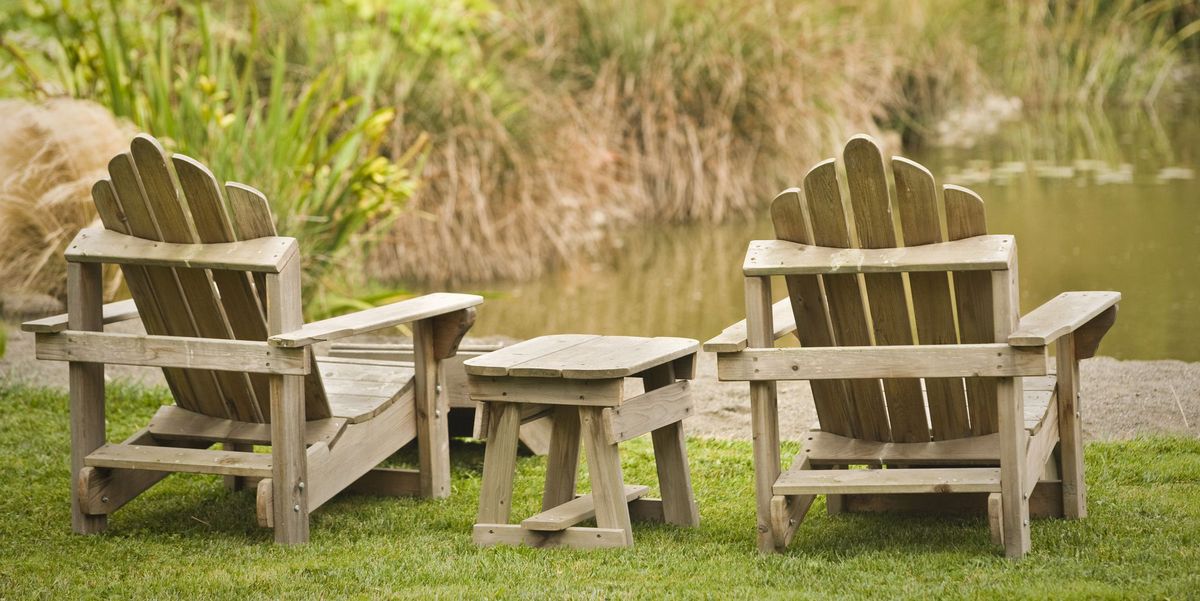
Learning how to build an Adirondack chair takes multiple steps and comfort with simple carpentry, but leaves you with a perfect piece of furniture to relax in once you’re finished. A modern Adirondack chair will be right at home on any deck or patio.


