


Special to The Tribune
It’s simple to transform ordinary pine cones into a bouquet of beautiful zinnias with this DIY project. Use both the bottoms and tops of pine cones, paint in bold summery colors, add stems and assemble your bouquet.

 Gather Pine Cones
Gather pine cones from your yard, or use craft pine cones. Small, open pine cones are best for this project because they’re easier to cut.
Involve kids in this project by letting them gather the pine cones and clean out any pine straw or dirt.
Cut Off Tops and Bottoms
Use the pruners to cut the tops and bottoms from the pine cones. Wear gloves to protect your hands.
Paint
You can choose to spray paint the pine cones or use acrylic paint. Spray paint is faster, but hand painting gives you better control. You may need to apply two coats of paint for full coverage. The colors used here are: Rust-Oleum Painter’s Touch 2X in Magenta, Key Lime, Real Orange and Golden Sunset, in gloss and satin finishes.
Follow the directions
Follow the directions on the can for best results. Use brown builder’s paper to protect the surface you’re working on, wear gloves and work in a well-ventilated area. Let pine cones dry for at least two hours.
Add Finishing Touches
Use acrylic craft paint to add finishing flourishes to the pine cone flowers. Give the flowers time to fully dry before adding stems.
Young children can help with this project by painting with the acrylic craft paint.
Make Stems
Make stems from heavy gauge floral wire cut to 10-inch lengths.
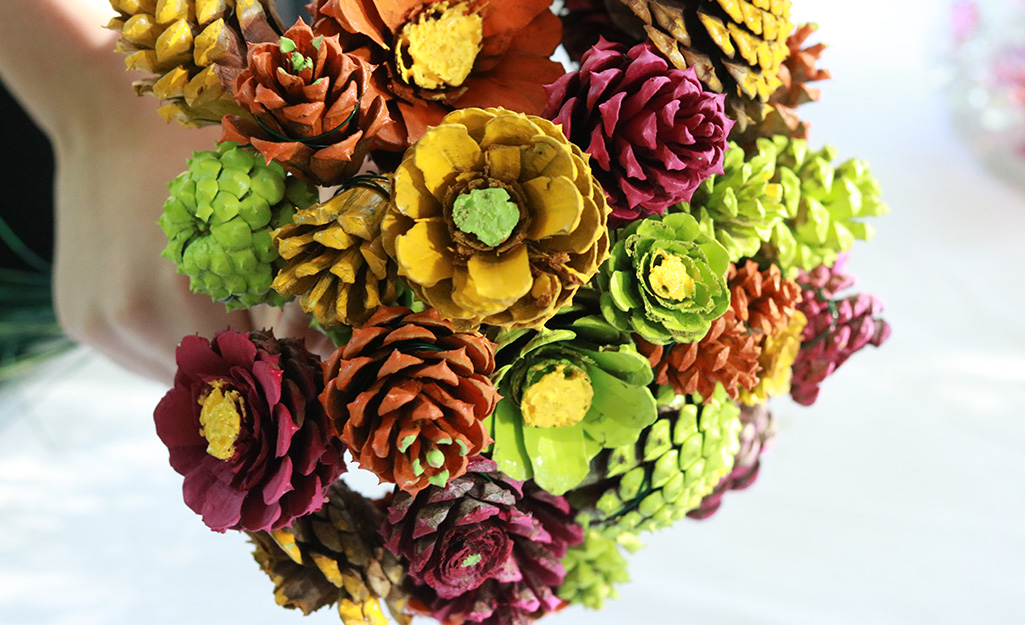
Assemble the Bouquet
Assemble the bouquet of zinnias. Arrange in a vase or bowl and admire your handiwork.


